Tuesday 25 June 2013

Just a Baked Spud - and a little dessert!

It's obviously the Irish in me, but I adore spuds. All sorts of spuds, in any format. Boiled, mashed, chips, roasted, rösti, gnocchi, all have a place. But for sheer completeness of a meal in a single spud, nothing beats a properly baked potato. In fact, a baked potato and chicken curry from the Bannside Restaurant in the University of Ulster at Coleraine for 66p (if memory serves me right!) saw me through college.

On the other hand, I really have no time at all for those horrid little spuds you get from the microwave. When it comes to a baked potato, there is only one option for me, and that is a long slow baking in a proper oven. For a BBQ, I wrap them in tinfoil and stick them in the BBQ for the last ten or fifteen minutes, to give it a smokey flavour. But often, we just have a baked potato as our evening meal on a random mid week night - like tonight.


I know the carb police are climbing the walls, but it is not a massively calorific meal, especially as I usually only have a little creme fraiche and chive and maybe a mixed salad with it. And how simple a meal it is - it totally fits the DinnerLadies ethos of an easy midweek supper!


Gorgeous fluffy baked potatoes
However, in order to get a "proper" baked potato with a nice crunchy skin and a fluffy inside, it is useful to have some basic instructions.

Firstly, I used to have the oven too hot and do it too quickly - 220C is too much. I consulted Delia Smith, and now I preheat to 180C (Delia suggests 190C, but mine is a fan oven).


Secondly, get the biggest spud from the bag - this is great for using up those big turnip sized ones you get at the bottom of the large sack! Again, Delia suggests a slightly waxy potato, whereas I (being Irish) prefer a fluffier, floury type.


One important factor is to ensure the potato is as dry as possible, so if they are ready washed, there is no need to wash them again. If not, wash and dry as thoroughly as possible. Then prick all over with a fork, then rub in a few drops of olive oil. Lastly, rub in some crushed sea salt (Maldon is ideal, I often just end up using finely ground table salt though, depends what is near to hand when I realise the Maldon is at the back of the cupboard and my hands are covered in oil!). Pop straight onto the shelf of the oven and bake for a nice long time - I give them at least 1½ to 1¾ hours, even sometimes two hours. Delia suggests you learn to embrace the length of time they take to cook to do something else, like popping out for a bit. Personally, I find "putting the children to bed to have a supper on my lap alone / with Himself in front of the TV" is an excellent use of time!


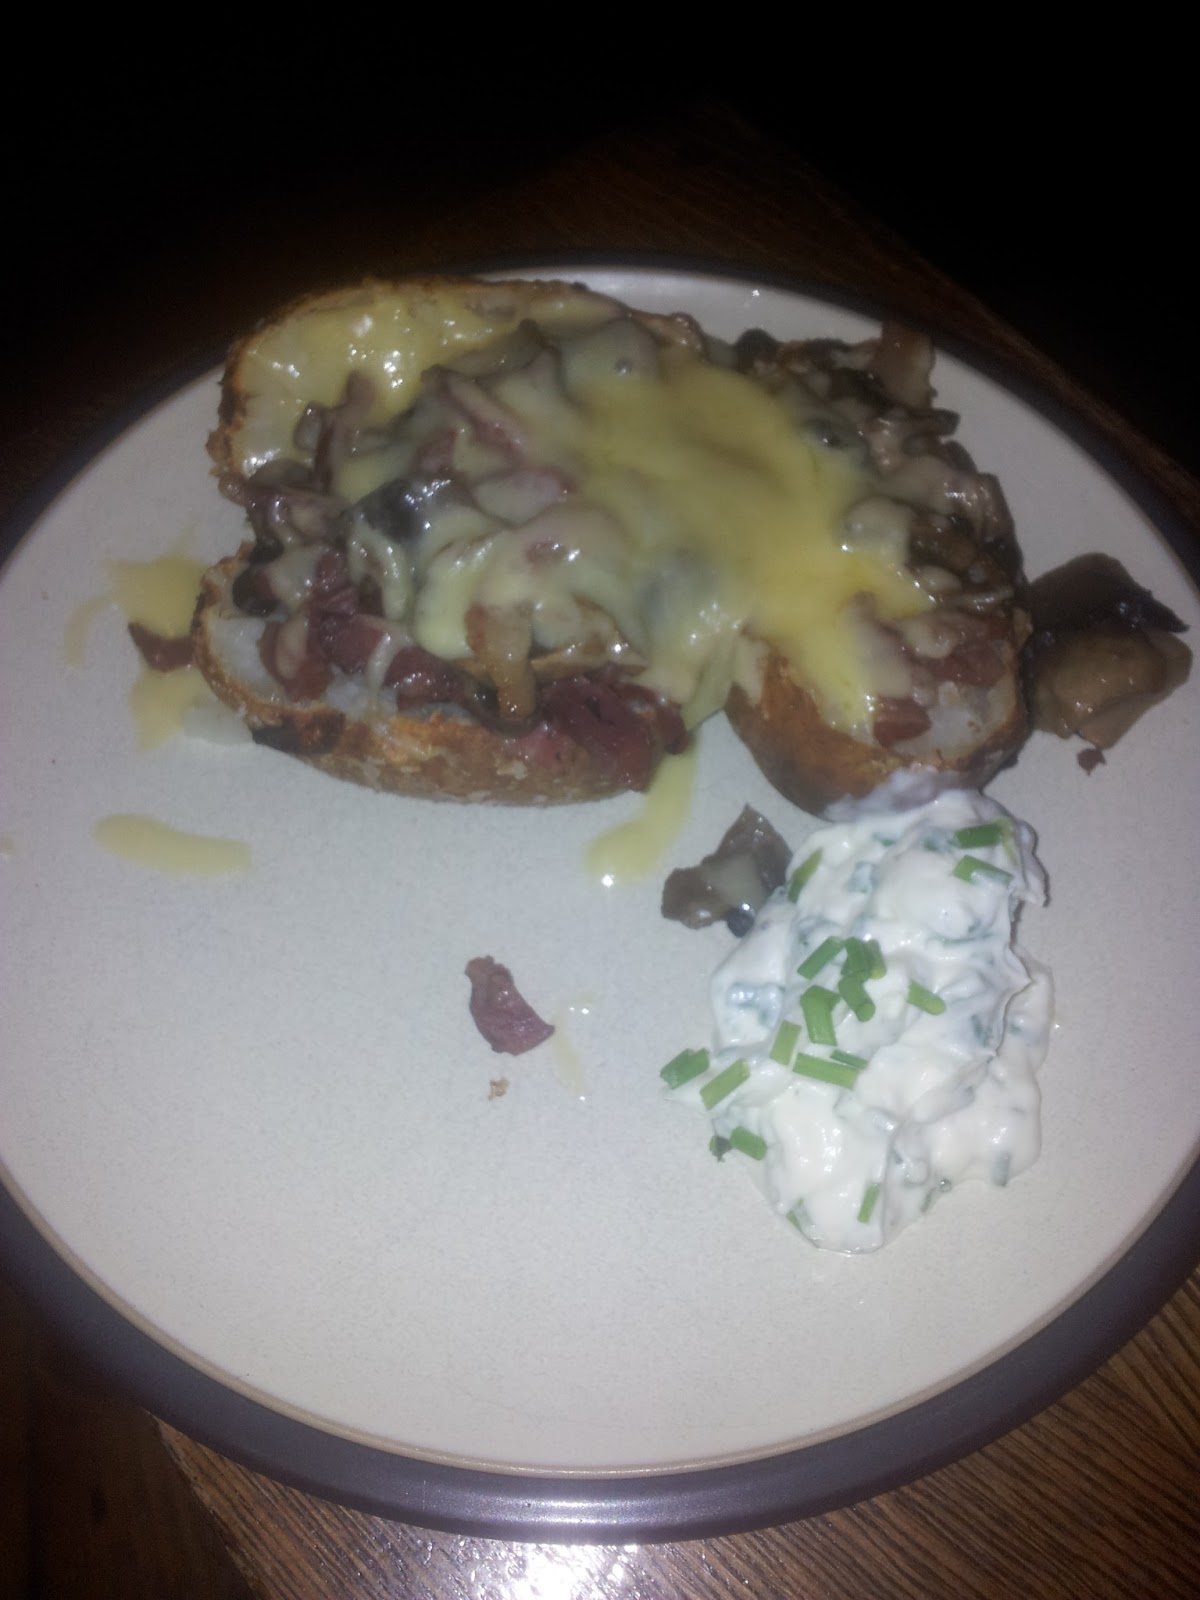
Ready to eat; with melted cheese, bacon & mushrooms


Serve them with fish or your BBQ or have them on their own - tonight I am going to cook of some bacon bits and maybe mushroom and scatter them on top, maybe scatter on some grated vintage cheddar and pop them under the grill for a minute, and then serve with some "sour cream" and chive sauce (see below) and a mixed salad. I even have some coriander in the fridge, so I will probably chop that into the salad too. It will be regular curly lettuce, some rocket and coriander, cherry tomatoes, cucumber, celery, scallions and chopped red pepper with some dressing. Or not, as the case maybe - there is no lettuce after all that.

"Sour cream" & chive sauce

  • 1 tub of soured cream or creme fraiche (hence my inverted commas! I didn't have enough creme fraiche today so I used the last half tub with a spoon of mayonnaise and a half tub of Philadelphia cheese!)
  • 1 bunch chives
  • Salt and pepper
  1. Chop the chives into the creme fraiche, season with plenty of salt and pepper and leave to infuse for at least an hour
PS - the reason I had half a tub of Philadelphia is because I made a cheesecake.... Instructions below! I really need to row back on all these desserts - I got "Run, Fat Bitch, Run!" out of the library today, I need to swallow it and not the cheesecake!

Baked Cheesecake
(Adapted from a couple of recipes from the BBC Food website)


  • 200g digestive biscuits
  • 100g butter, melted
  • 500g full fat cream cheese (such as Philadelphia)
  • 3 eggs
  • Juice of ½ a lemon
  • 75ml double or whipping cream (unwhipped)
  • 1 teaspoon of vanilla extract
  • 60g plain flour
  • 200g caster sugar
  • Preheat the oven to 140C
  • Line the bottom of an 8" springform tin with parchment paper
  1. Pop the biscuits into a food processor and blitz to fine crumbs, then add the melted butter and mix well
  2. Put the biscuit mixture into the tin and use a glass tumbler to roll over it and level it out, then leave in the fridge to chill while you get on with the rest
  3. Mix the cream, lemon juice and eggs in a jug, combining lightly
  4. Beat the cream cheese and vanilla together til smooth (I used the electric hand whisk on a lowish setting for this), then add half the egg mixture and beat in
  5. Add the flour and sugar, beating in again, then the rest of egg mixture, beating all to a smooth consistency
  6. Pour over the biscuit base then bake for 40 - 50 mins, you will need to check after 40 mins, and take it from there; it is done when lightly golden on top and firm but with still a slight wobble on top
  7. Ideally, when done, prop the oven door open and leave the cheesecake in til the oven cools completely, taking it out and leaving to fully cool then; apparently this will stop it cracking. However if - like me - you need the oven for something else (such as baking some fine spuds!), leave it cool in the tin, running a palate knife round the edge after about 5 minutes, to loosen


If only I had a little berry coulis of some flavour to go with it - raspberry would be perfect for me!

Sarah xx

PS - many thanks to the lovely reader who spotted that I had forgotten to mention the quantity of cheese required in the cheesecake; d'oh! Amended now, S

Monday 24 June 2013

An Old-fashioned Rice Pudding

Rice Pud, with a lovely nutmeg skin
Now I have to admit to a love of an old fashioned pudding, and rice pudding has always been my favourite, my mother would often make it as a mid-week dessert, it was great to come in from school and discover that treat waiting for us after dinner.

I've always been under the impression that is is something very tricky to make, that it fails more often than not. Well, I'm delighted to tell you I found the world's easiest rice pud recipe ever - honestly, it was even easier to make than the lemon posset!

What happened was I was cleaning out a cupboard and found a packet of arborio rice, for making risotto. Obviously I had great plans once for risotto, but never got round to it. I had a notion that you can use arborio rice for rice pud as well as traditional "pudding rice", so I thought I'd check the net, find a recipe and give it a whirl. Especially with the cold and windy day we had yesterday, I thought it would be a lovely comforting end to our roast chicken dinner (ps, here's a link to my favourite roast chicken recipe too, Delia Smith's fast roast chicken with tarragon and lemon - it's divine).

The Delia Smith site failed me, as her recipe uses evaporated milk and I didn't have any. The excellent BBC Food website though and pages and pages of recipes from every celebrity chef ever. Some were quite complicated, but actually the second listing - totally uncredited - turned out to be simplicity itself so I went for it.

The only issue was that when I weighed out the 55g of rice the recipe recommended, I knew instantly it wasn't enough, presumably because I didn't have "official" pudding rice and was going a bit off piste with my arborio rice. So I increased the amount of rice to the official portion size for two people of about 120g, and that was the perfect amount.

Preparation time on this is a max of about five minutes, then you simply stick in the oven for an hour. BONZA, as Himself would say!

Rice Pudding (from the BBC Food website)


  • 55g/2oz pudding rice or 120g/4oz arborio/risotto rice
  • 55g/2oz sugar
  • 600ml/1 pint full-fat milk
  • A good grate of fresh nutmeg
  • Small amount of butter
  • Preheat the oven to 160C/325F/Gas Mark 3
  1. Mix the rice and sugar together in a baking dish and pour on the milk
  2. Grate plenty of fresh nutmeg on top, and then dot with/float 3 or 4 small bits of butter
  3. Bake in the oven for at least an hour - you can also cook it for longer at a lower heat, if you wish
Now, how easy is that?! And the kids loved it. Although I did find it on the sweet side, so next time I will reduce the sugar a bit, I would think 35 or 40g of sugar would be plenty.

Sarah xx

Tuesday 11 June 2013

The Perfect Picnic Snack - Flapjacks

Golden Flapjacks
Oh how I love the humble flapjack. Not cool or sexy in any way, but really simple to make, very easy to transport to a picnic (weather permitting) and oh, so yummy. And they always sound so wholesome and have that slightly worthy feel to them, don't they?

All I can say, lovely blog fans, is don't be fooled. Unfortunately, something that tastes that sweet and tasty is of course not good for you! At it's heart, it is a mix of porridge oats (okay, I grant you, that's healthy), butter (lots of it), sugar and golden syrup. Gorgeous.

Of course, you can make them in a variety of different ways, and add what you like. Today, I am making them for my daughter's sponsored walk from her creche, so as the audience will be mostly aged between 2 and 4 years of age, I've plumped for the straightforward option. You can, of course, make them with honey instead... But this doesn't make them any healthier, as honey is exactly the same glycaemic value of sugar, and I find the taste a bit strident, so sugar it is for me.

The recipe I am using today is a hybrid of some internet research and the recipe from Nigella Lawson's book "How to be a Domestic Goddess".

Firstly, you need to line a tin. The easiest way to do this is to cut a piece of parchment paper larger than required, then snipping the corners so that you overlay the corners, making it neater. Delia Smith explains it reasonably well here, with pictures.

Next up, the recipe -a s I say, simplicity itself.

Basic Flapjacks

  • 300g butter
  • 75g brown sugar (light brown would be ideal, today I have a mix of dark soft brown and a little caster sugar - needs must. Fingers crossed)
  • 5 or 6 tablespoons of golden syrup
  • 450g rolled oats (porridge - this can be a mix of jumbo or regular oats, or ideally a mix of both. I prefer the 250g regular to 200g jumbo proportion myself although again today, it's just regular)
  • Preheat the oven to fan 180 (or a little less, depending on how chewy you like them)
  1. Melt the butter, sugar and golden syrup gently over a low heat and stir well to combine
  2. Add to the oats and mix thoroughly (make sure to mix well, no one wants to find a big lump of dry oats in the middle of a bite)
  3. Press into the prepared tin and bake for 25 minutes (again, 30 minutes if you prefer a crunchier texture)
  4. Allow to cool in the tin; although do cut into squares in the tin about 5-10 minutes after they come out
    Variations
    1. Add chopped sultanas to the dry oats before adding the melted butter and sugar
    2. Add chopped dried cherries and a generous sprinkle of desiccated coconut
    3. Sprinkle a spoon of sesame seeds on top of the flapjacks before they go in the oven
    4. Add a pinch of ginger or other spices to the mix 
    5. Dip one side in melted chocolate after they have cooled, and then leave to dry on greaseproof paper
Perfect with a picnic - now, just pray the rain stays away!

Sarah xx